Cheddar Biscuits With Corners Worth Saving
Cut the dough into squares and let a few shreds of cheese reach the outside. Those small details give a savory biscuit especially good edges.
8 min read
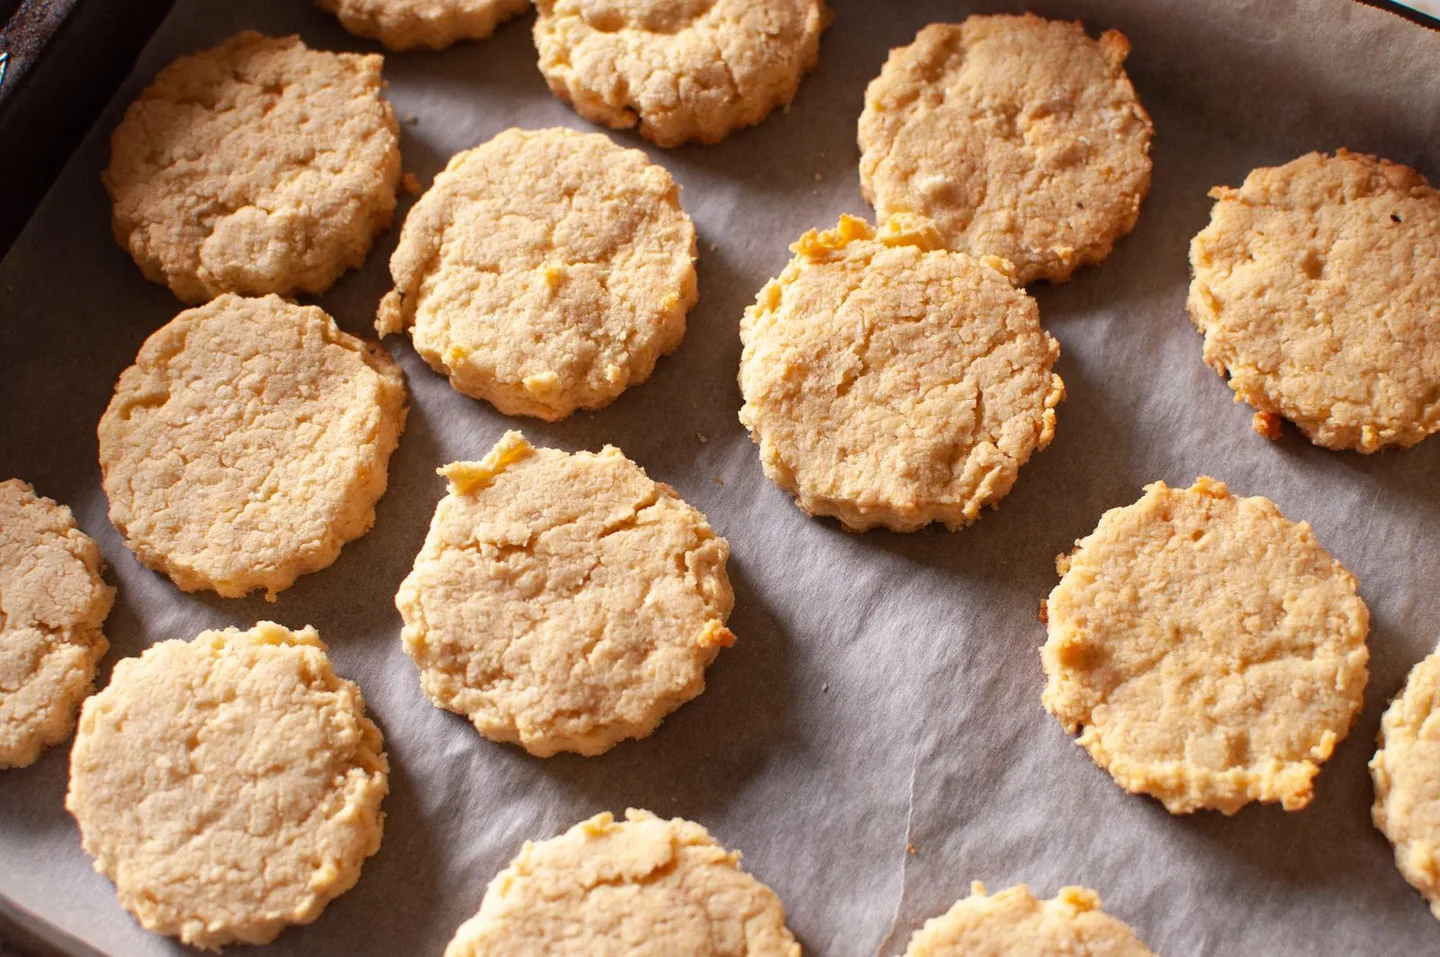
A biscuit cut with a round glass has one continuous edge. A biscuit cut into squares gets four corners, and the corner is often the best part. It can brown deeply before the inside loses its tenderness. A shred of cheddar that reaches it will melt, spread a little and become crisp where it touches the pan. The rest of the cheese stays tucked between folds in the dough. These biscuits are shaped to make that distinction easy to achieve, with no cutter to flour and very little dough left to gather up.
They work with soup, eggs or a plate of sliced fruit. Serve them warm enough for the inside to be soft and cool enough that the top does not fall apart when you open one. A strong cheese gives a distinct flavor without adding much more moisture. The recipe uses cold butter and plain buttermilk. Its character comes from the way those ingredients are handled and from the contrast between the protected center and all those exposed edges.
Set up a cold bowl and a hot oven
For eight biscuits, use 280 grams all-purpose flour, 1 tablespoon baking powder, ¼ teaspoon baking soda, ½ teaspoon fine salt, 90 grams cold unsalted butter, 105 grams sharp cheddar and 180 grams cold cultured buttermilk. Set aside another spoonful of buttermilk to brush on the tops if desired. A small amount of cracked black pepper goes well with the cheese. A few thinly sliced chives are another option if you have them, though neither is needed to make the dough work.
Heat the oven to 425°F or about 220°C. Line a rimmed sheet with baking parchment rated for that heat. Put the sheet aside at room temperature. Grate the cheese into coarse shreds, preferably from a block. Shreds you grate yourself are easy to distribute, and it is simple to tell whether the cheese feels dry or moist. Aged cheddar often breaks into several finer crumbs around the grater. Those crumbs will season the inner layers and can go into the bowl with everything else.
Cut the butter into pieces a little smaller than dice. If it softens noticeably on the bench while you get the other ingredients ready, put it back in the refrigerator for a few minutes. This is also a sensible time to clear a space for turning out the dough. Once the buttermilk touches the flour, the work proceeds quickly. You will want a broad knife or bench scraper and a place to dust with flour without searching for them with sticky hands.
Leave the butter in thin pieces
Whisk the flour, baking powder, baking soda, salt and optional pepper together. Add the butter and coat every piece with flour. Flatten a piece between your thumb and forefinger, then drop it back into the bowl. Continue through the rest, pinching only long enough to turn the chunks into small flakes. Leave some flakes larger than others. If the mix begins to feel greasy or your fingers leave smears on the bowl, chill it again before you add liquid.
Large solid chunks can leave holes in the biscuit as they melt. Very fine crumbs make a pleasantly tender dough but give it a less distinct set of layers. Thin pieces let you keep some of the benefits of both. In the oven the dough rises around the irregular pieces as they melt. In your hand, a baked biscuit should open along one or two visible lines. It does not need to fall apart into a stack of evenly spaced sheets.
Stir the grated cheddar through the flour and butter, reserving a few shreds if you want them on top. Disperse any handful that went into the bowl as a clump. Add the buttermilk and use a fork to draw dry material from the edges into the wet center. The mixture should look ragged. Squeeze a small portion lightly. If it holds and the bottom of the bowl shows only a dusting of flour, turn it out. If there are several tablespoons of dry flour and the dough comes apart in your fingers, add more cold buttermilk a teaspoon at a time to those dry areas.
Fold on the bench and cut straight down
Dust the work surface lightly and tip the dough onto it. Use the scraper to tuck the loose edges in until you can pat the mass into a rough rectangle. Fold one short end toward the middle and the other over it, as you would fold a letter. Turn the dough a quarter turn and pat it into another rectangle. Fold once more. Dust only the spots that adhere to the bench or your hand. Too much flour on the outside can create chalky seams and make the dough reluctant to hold together.
Pat the final rectangle to roughly 6 by 8 inches and a little under an inch thick. A rolling pin is unnecessary. The aim is an even height, with as little pressure on the dough as you can manage. If the dough feels elastic and begins to pull back, let it rest briefly in the refrigerator before proceeding. If a corner has cracked, press its two sides together gently instead of folding the whole rectangle again.
With a sharp broad knife or scraper, cut the dough into eight pieces, two rows of four. Push straight down for each cut. A dull blade dragged through the dough pulls cheese across the layers and can compress the edges. If you want more exposed sides, cut a thin strip from any edge that is heavily rounded by the folds, though the biscuits will work without trimming. Bake any trims separately as a cook's portion. They will brown before the larger pieces and are a good early sample of the crust.
Give each corner some air
Transfer the pieces to the lined sheet with space between them. Brush the top with a thin layer of buttermilk if you want more color. Keep the brush away from the cut sides, where you can see the layers. Scatter a few reserved shreds over the tops or deliberately lay one or two close to a corner. Avoid a large mound of cheese that hides the dough. It can darken before the biscuit is fully baked, and the point of a crisp shred is that it comes as an occasional bite.
Bake for roughly 15 to 20 minutes. Look for well-colored tops, firm bottoms and sides that appear set between the seams. Rotate the sheet toward the end if one corner of your oven browns more quickly. The bottom will carry more color than the exposed dough near the middle of the side. If you pull the tray out as soon as the cheddar looks dark, the interior can still be sticky. Check the biscuit itself. A set top springs back lightly when touched and the seams feel fairly dry rather than doughy.
Rest them on the sheet for a minute or two before lifting. Melted cheese that has run out can still be soft and sticky. Once it sets, a thin spatula will lift it with the biscuit instead of leaving the corner behind. Move the biscuits to a rack if they will wait. A crowded basket traps steam around the bases, which is useful for keeping them warm briefly but can undo some of the crispness you just made. Serve with a towel over only part of the basket if you want both warmth and a little air.
For a breakfast table, bake only as many as will be eaten while warm and hold the remaining cut pieces briefly in the refrigerator. Put the cold pieces on a cool sheet when it is their turn in the oven. If you are taking them somewhere, choose a box wide enough for a single layer. Biscuits stacked immediately after baking will steam one another and the cheese can bind the pieces together. A few minutes uncovered on the rack make the trip easier, and you can always warm them briefly at the destination.
Use the crumb to choose your next adjustment
Break open one biscuit and look at the middle. If it is very crumbly and hard to open without breaking, you may have added too little liquid or used too much flour at the bench. If it has a smooth, springy interior with few open layers, you may have worked it past the point it needed. If it tastes right but has little color, keep the same dough and try a slightly different rack position before you change the oven setting. The crust and crumb reveal different parts of the process.
For a different cheese, begin with a firm type such as an aged Gouda and keep the shreds coarse. A moist cheese changes the wetness of the dough and often melts in larger spots. The first batch with a new cheese is a good place to omit added herbs so you can actually taste the change. For a peppery biscuit to go with plain eggs, use a little more pepper and leave the cheese quantity alone.
Cool leftover biscuits before wrapping them. A short spell in an oven or toaster oven firms the cut sides again. A thin half can go into a skillet with its cut face down, where the exposed cheese browns quickly. If the most appealing part of the tray was the bit of baked cheese that broke free from a corner, save it. It belongs on a warm bowl of soup just as much as the biscuit does.