Crisp Chicken Thighs Start in the Skillet
Render skin slowly, finish the meat with steady heat, and use a thermometer to tell when bone-in chicken thighs are ready.
8 min read
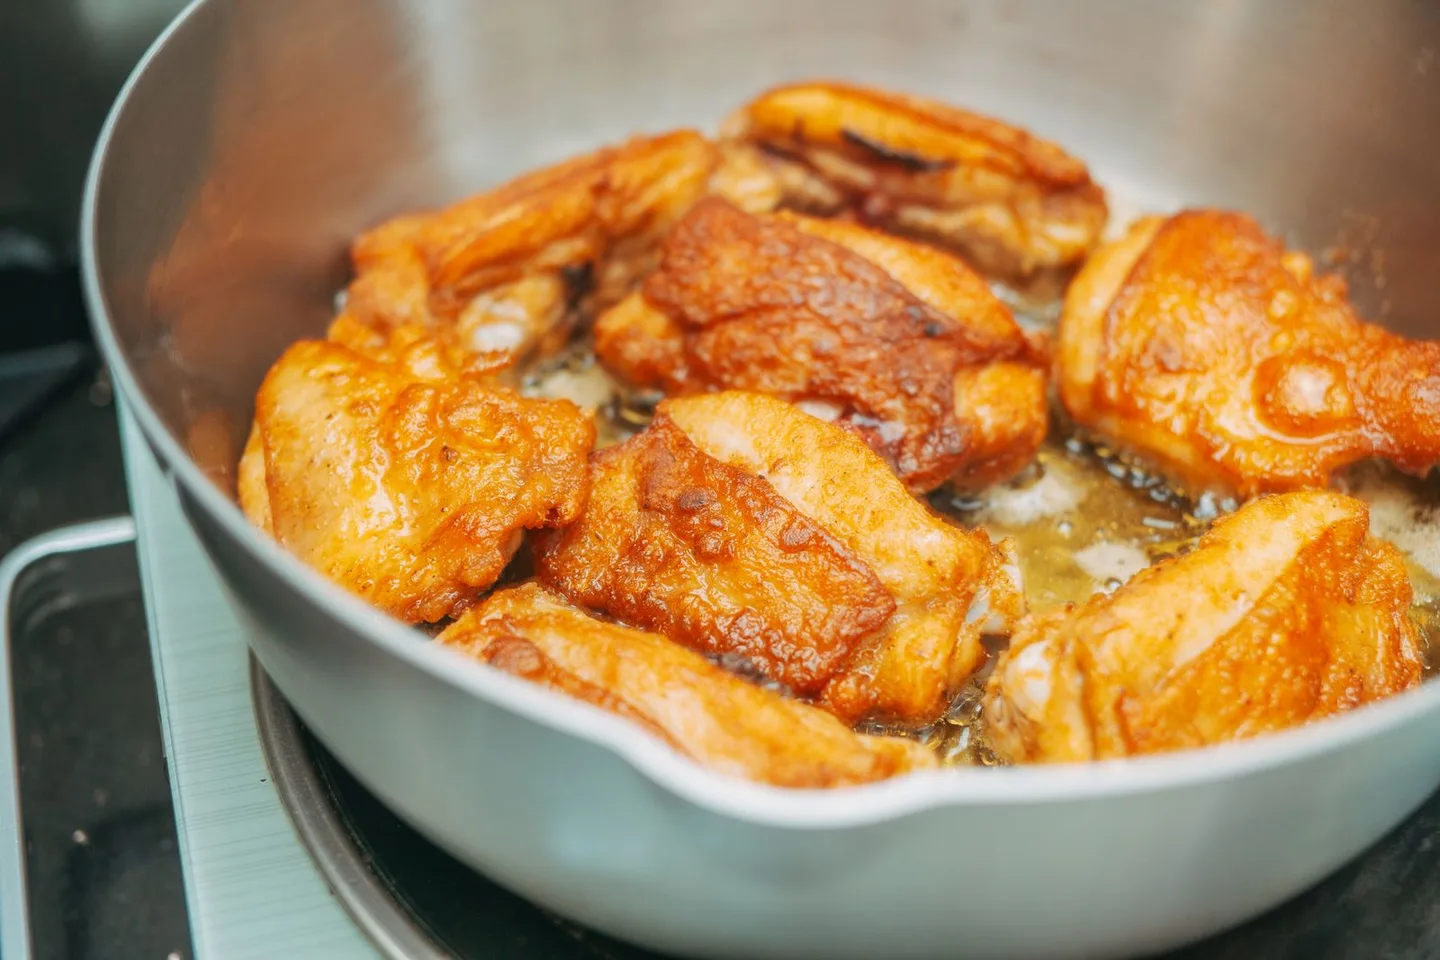
The sound of chicken skin hitting a pan tells you something about dinner, but the important sound comes a few minutes later. When the fat begins to render, the early sizzle settles into a steady crackle. The skin tightens, takes on color, and eventually lets a thin spatula slide underneath. If you are used to searing everything over high heat, the wait can feel unusually long. Give a chicken thigh the time to render and the result is easier to serve and much easier to repeat. The underside becomes crisp across most of its surface, and the meat has time to finish without making a black patch on the skillet.
Use bone-in, skin-on chicken thighs of roughly the same size for this method. Very small thighs will cook sooner than hefty ones, even if they looked much the same while packed in a tray. A thermometer is the reliable way to decide when each one can come out. Choose an oven-safe skillet large enough to leave some room around every piece. A skillet can comfortably hold fewer thighs than it appears to hold when you first lay them out.
Set up before touching the chicken
Preheat the oven to 400°F or about 200°C and check that the skillet and its handle are rated for that temperature. Put a plate for cooked chicken nearby. Bring out tongs, a heatproof trivet, a dry oven mitt, and a clean instant-read thermometer. Set an extra utensil aside for moving cooked chicken, so the one you use to place the raw thighs can go straight to the sink for washing. A well planned counter makes the brief transfer between stove and oven easier.
Open the package over a clean tray or board used for raw meat. Pat the thighs dry with paper towels, then throw the towels away. There is no reason to rinse raw poultry, since splashing can spread germs to nearby surfaces. Wash your hands with soap and water after handling it, and clean tools and work surfaces that contacted raw poultry. Season the thighs with salt. Pepper or dried herbs can wait until after searing if they tend to scorch on your stove. Tuck any loose, very long fold of skin back over the thigh, or trim a piece that would bunch underneath and prevent the rest from touching the pan.
When you have time, salting the chicken ahead of cooking can help even out its flavor. Keep it in the refrigerator on a rimmed tray and protected from contact with other food. A wet marinade adds moisture you will have to remove before searing. If you want lemon or a glaze, reserve it for the meat side or serve it separately at the table.
Give the skin broad contact
Warm the skillet over medium heat and add just enough neutral cooking oil to make a thin film. The chicken will contribute more fat as it cooks. Lay the thighs in skin side down, aiming each piece away from you as it reaches the skillet. The pan should sizzle gently. If the oil is already smoking, let it cool before you add the chicken. If you cannot hear any sizzle at all, give the pan a little time instead of immediately turning the dial to high.
Press each thigh lightly with the tongs for a few seconds to flatten the skin. Curved areas may still take a little less color than the flat center. Leave the thighs alone while the surface sets. You can watch the edge of the skin and the changing sound. There should be enough heat for steady bubbles of rendered fat around the pieces. Reduce the heat if the skin darkens before the fat has begun to run. If a considerable pool collects, carefully spoon some into a heatproof container. Avoid tipping a heavy pan full of hot fat.
After several minutes, lift the edge of one thigh gently. Skin that is still pale and firmly attached needs more time. A well-browned surface often releases more readily. Resist trying to lift the whole piece with a tight pull on the tongs. Slip a thin spatula under the skin when you can see some color at the edge. Check the piece nearest the center of the burner and the one farthest away. If one thigh has browned much earlier, turn it and place it in the cooler part of the skillet while the other finishes.
Finish with steady heat and a thermometer
When the skin is a deep golden brown, flip the thighs so the crisp side faces up. Put the skillet in the preheated oven. Keep the skin exposed. A pan full of sauce or a lid over the chicken will soften it. If you want a moist side dish, cook it separately or add it to the plate later. Check the chicken with a thermometer before you think it is finished, because the stovetop stage may have cooked smaller thighs most of the way through.
Insert the probe into the thickest part of each thigh, avoiding bone and the skillet surface. You can approach from the side if the piece is short and the tip would otherwise pass through. Poultry should reach at least 165°F or 74°C according to the U.S. safe minimum internal temperature chart. Check more than one thigh, particularly if the pieces differ in size. Skin color and clear juices do not establish the temperature at the center. If a piece is ready before the others, transfer it to the clean plate and return the skillet to the oven.
If the meat is ready but the skin became a little soft, you can return the chicken briefly to a clean hot skillet, skin side down, and check it at short intervals. It is easier to avoid that extra step by leaving the thighs uncovered at the end and taking them out of the cooking fat promptly. Keep the hot skillet handle covered or turned safely out of the way as it cools. A skillet from the oven looks just like one that has been sitting empty on the stove.
Serve so the crisp part stays crisp
Rest the thighs for a few minutes on a clean warm plate. Set them skin side up and leave the top exposed. A tight cover traps steam. If you are making a quick sauce, this is a useful moment to start it. Pour away the excess fat once you can handle the pan safely, leaving a thin film and any browned juices that smell pleasantly roasted. Add a small splash of water or stock off the heat, then return the pan to gentle heat and scrape up the browned bits. Let the sauce bubble briefly and taste it before adding salt.
Keep the sauce light. A spoonful of broth with lemon juice can be enough. If the skillet has a large burned patch, make the sauce in a clean saucepan. Scraping deeply blackened bits gives the liquid a bitterness that lemon cannot reliably fix. Spoon the sauce beside the thigh or over the vegetables rather than across the skin. The same idea works if you are serving beans or grains. Put the thigh above the moist ingredient and leave the skin on top where it has room to stay dry.
A side dish with some sharpness makes the rich skin especially good. A few spoonfuls of lightly dressed cabbage, a wedge of lemon, or sliced cucumber with vinegar can do the job. If you want a full plate from one skillet, first cook the chicken and set it aside once it is done. Then use a little rendered fat for pre-cooked potato halves or greens. Potatoes take on a very good brown edge and greens can be lifted out before they release enough water to flood the pan.
Find the adjustment your skillet needs
If the chicken browns too quickly, begin with a lower setting and give the skin a longer first side. If the first thigh browns beautifully and the others stay pale, make fewer at once. A packed skillet loses heat and traps steam between pieces. The condition of the skin at the start matters too. Dry it as thoroughly as you can, and check that it is flat enough to make contact. It is possible to have crisp patches and pale strips simply because the skin folded under itself.
When a thigh sticks, wait a short time if the skin is still pale, then test the edge again. If it smells as if it is burning, reduce the heat and lift carefully with a thin spatula. A small tear is only cosmetic. Finish the meat properly and save the pan changes for next time. If you find that the largest pieces take much longer to reach their safe temperature, buy a more uniform batch or transfer smaller ones out as soon as they are ready. The most useful notes are the size of the pieces, the burner setting, and when the color first looked right.
Refrigerate leftovers in a shallow covered container within two hours, or within one hour if the surrounding temperature exceeds 90°F or 32°C. Use refrigerated cooked chicken within three to four days under the FoodSafety.gov cold storage guidance. Reheat leftovers to 165°F or 74°C. A dry skillet or oven will give the surface more chance to become crisp again than a covered bowl. On the first night, though, the best moment is just after the short rest. Have the other parts of dinner ready so the thigh can go directly from the warm plate to the table.