A Crisp Chickpea Flatbread for the Middle of the Table
A guide to getting a browned edge and a tender middle from chickpea flour, water, and a properly heated pan.
8 min read
A bag of chickpea flour can sit untouched for months because there is no obvious way to use just a little. The flour does not behave like wheat in a loaf, and it can taste raw if stirred into something and barely heated. A thin skillet flatbread is a better place to start. Water, salt, and a spoonful of oil make a batter that can be baked into a tender round with a browned edge. Serve it in wedges with lemon and greens or put it beside a bowl of stew. The method is useful precisely because the batter is plain. Once you recognize the right texture at the pan, you can plan the rest of dinner around whatever is waiting in the refrigerator.
This recipe uses a ten-inch oven-safe skillet and makes two modest rounds. Have one cup of fine chickpea flour, one cup of water, a half teaspoon of fine salt, and about two tablespoons of olive oil available. A lemon and black pepper are enough to finish. The difference between a good round and one that sticks is often apparent before the batter touches the pan. An unevenly heated skillet or one with too little oil will turn an easy food into a scraping exercise. Take your time getting the pan ready, then work decisively while it is hot.
Mix the batter in two additions
Put the flour and salt in a mixing bowl. Pour in about a third of the water and whisk until you have a thick, reasonably smooth paste. Add the rest gradually. Small lumps are easier to flatten when the mixture still has body than when they are swimming in a bowl of water. Stir in one tablespoon of the oil. Let the batter sit for at least half an hour. While it rests, prepare whatever is going on the table with it, because the bread is at its best when you can eat the first wedges soon after they come out.
A few tiny dots in the batter are fine, especially if your flour has a coarse grind. Press large dry pockets against the side of the bowl with a spoon. If foam builds up, you can skim it off for a more even surface, but there is no need to fuss over a few bubbles. Before pouring, give the batter another stir. Some flour settles while it sits, and the last round can otherwise be significantly thicker than the first. Properly stirred batter should pour like light cream. If your flour has absorbed a lot of water and the batter falls in ropes, add a little more water, a tablespoon at a time.
Prepare a safe route to the oven
Heat the oven to 450°F or 230°C. Put an oven-safe skillet on a middle rack during the last few minutes of preheating. A seasoned cast iron pan works well. Avoid any skillet whose handles or finish are not rated for this temperature. Clear the counter and set out dry oven mitts and a heatproof landing spot. A dark skillet stays hot long after you remove it. Keep a mitt over the handle once the skillet is on the counter so you remember its temperature when you reach for it again.
When the skillet is hot, take it out, add a thin film of oil, and tilt it to coat the bottom. Immediately pour about half the batter into the center. It should spread easily. If it leaves one side bare, tilt the pan gently instead of trying to drag the liquid with a spoon. The batter will begin to set at the edge. A thick layer takes longer to cook through and is more likely to feel heavy. If your skillet is smaller than ten inches, use less batter and make more rounds. If it is considerably larger, work with a little more batter or allow for a thinner result.
Follow the edge and the center
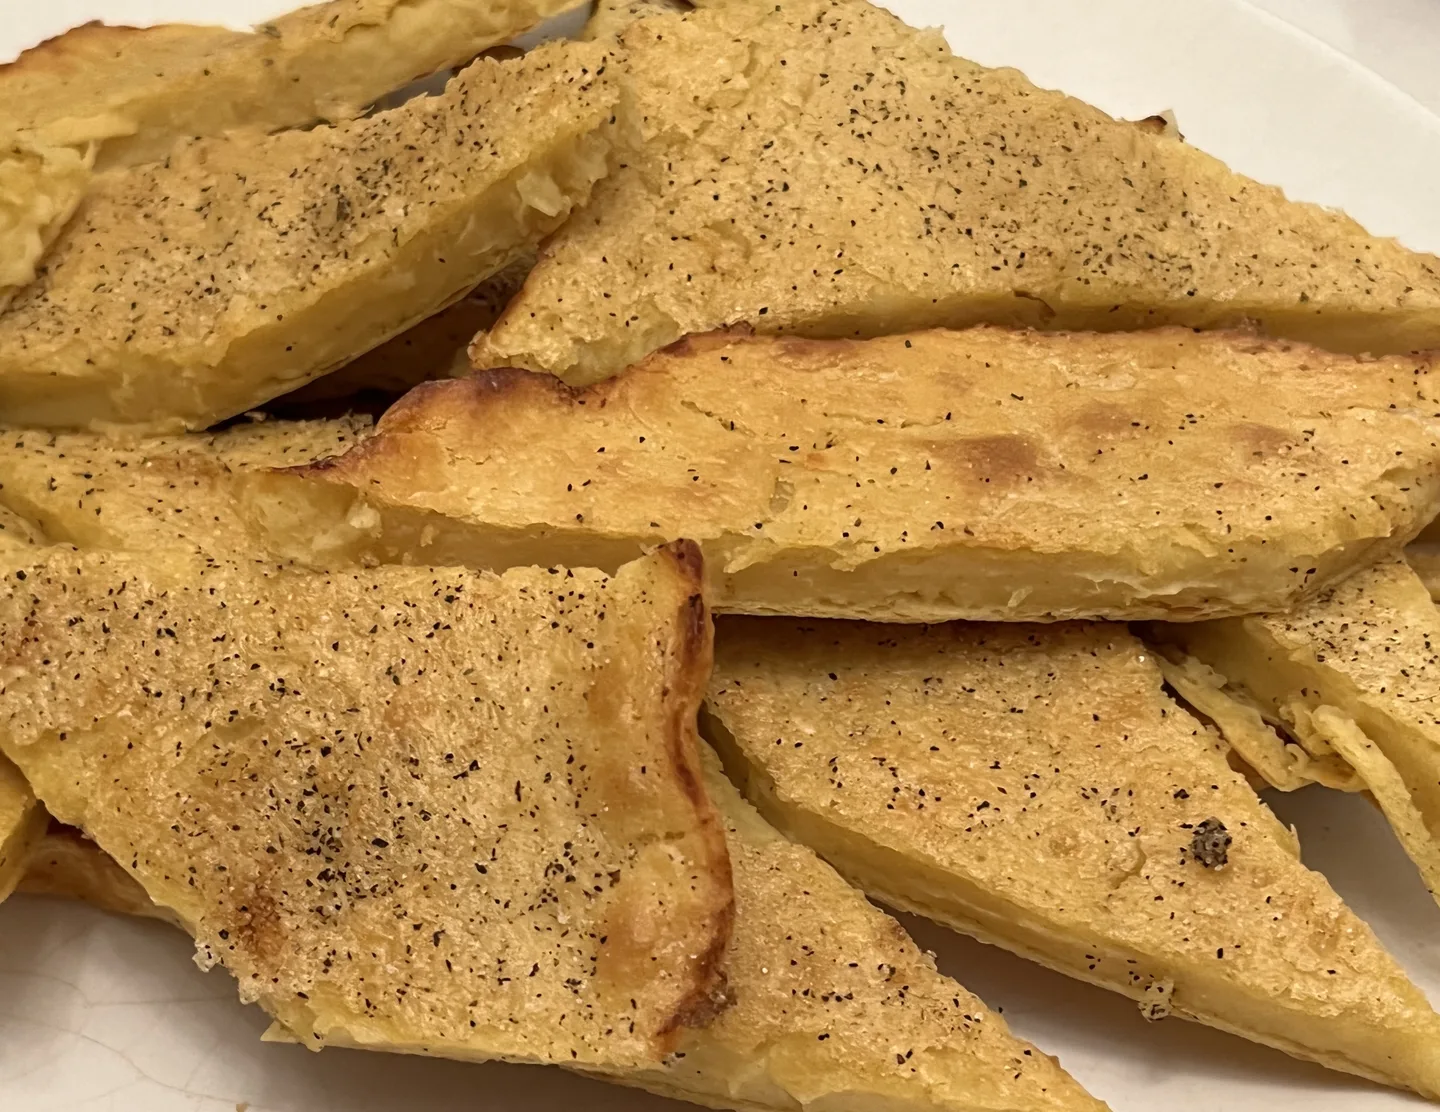
Bake until the surface looks set, the edges are browned, and the center springs back lightly under a spatula. Start checking at eight minutes. A thicker pour or a lighter pan may need several minutes longer. An underdone center looks glossy and drags when you nudge it. A flatbread that has finished may still bend, especially after the first minute out of the oven. A little flexibility is welcome. Waiting until the entire surface feels rigid makes the center dry by the time it cools.
If the middle is set but the top has little color, you can brown it briefly under the broiler if your pan is suitable. Stay at the oven, keep the handle away from the element, and watch from the moment the surface starts to spot. Pull it when the high points have browned. Loosen the rim with a thin spatula and work inward with short movements. If it sticks in just one place, wait about a minute before trying again. A tear makes little difference when you are cutting the round into wedges, and forcing a stuck patch usually makes it larger.
Get more from the second round
Set the first flatbread on a rack or board and cut it just before serving. Wipe loose crumbs from the pan once you can do so safely. Add a little more oil and pour the rest of the stirred batter. The second round is a useful chance to adjust. If the first one was too thick, use slightly less batter. If one edge never browned, check whether the pan was tilted on the rack. If it browned all the way around yet stuck in the middle, let the skillet reheat before pouring. The pan loses heat when it is out of the oven, particularly if you take a few minutes to slice and taste the first round.
For a more substantial meal, the second round can be flavored with a pinch of ground cumin, cracked black pepper, or dried thyme. Stir small quantities into the batter rather than scattering them into the hot oil, where exposed spices can scorch. The crust tends to be the most flavorful part, so cut narrow wedges that give every serving a curved piece of edge. Lemon tastes best squeezed over the portion in front of you. Pouring juice over both rounds before serving lets moisture settle on the browned surface.
Decide what to serve alongside
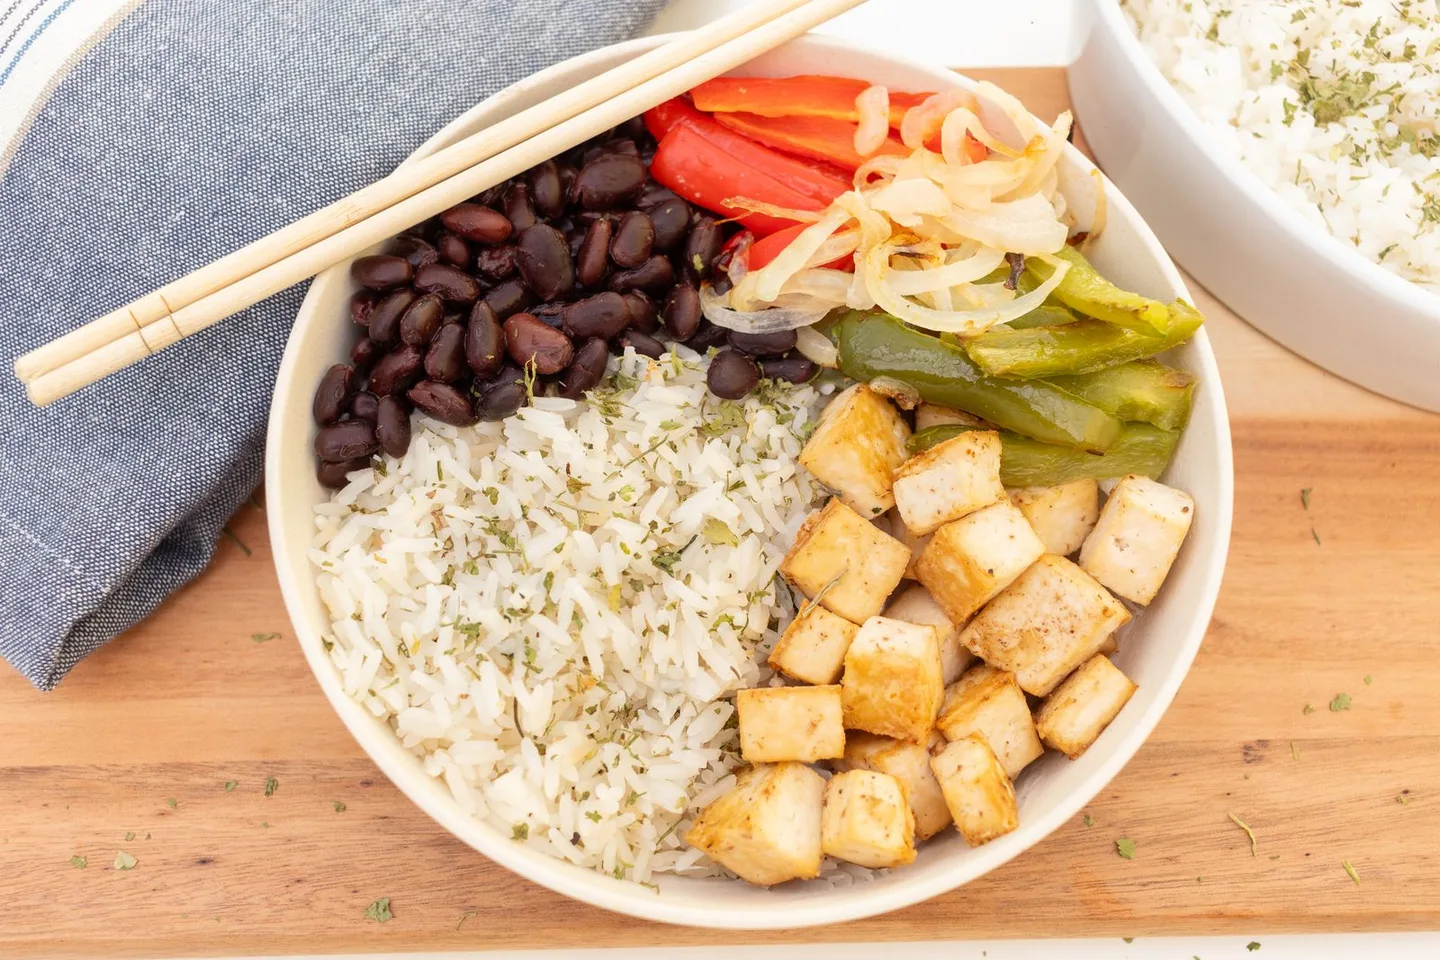
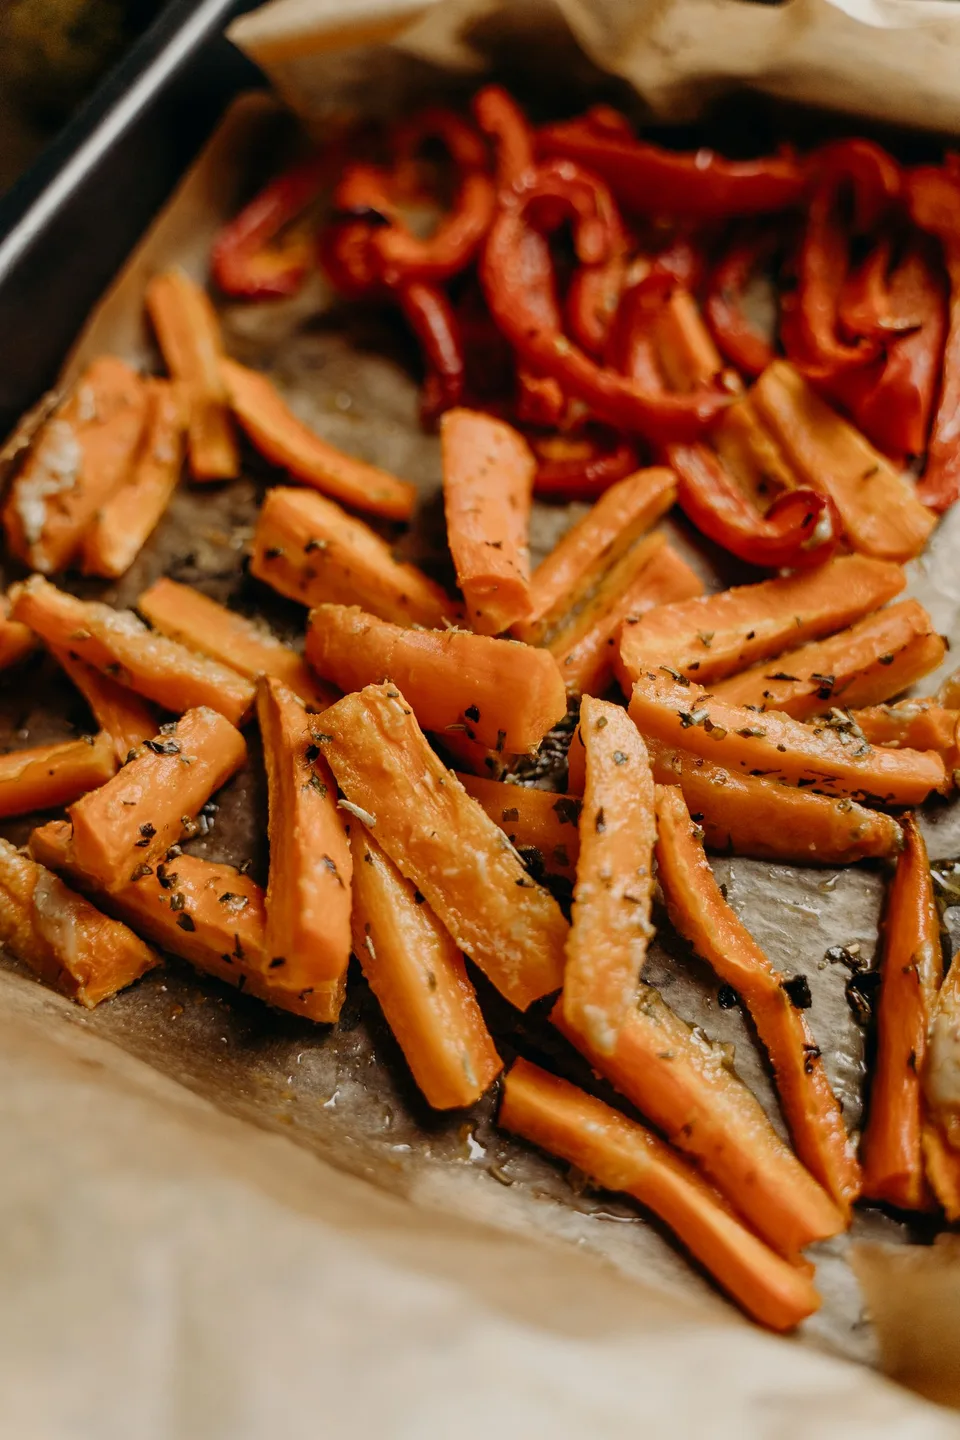
A bowl of greens makes the simplest meal. Dress torn lettuce or arugula with a little lemon and oil while the flatbread finishes, then set the salad beside the wedges. For a warm plate, spoon softened peppers or sautéed mushrooms into a serving bowl and let people pick up a little with each piece. A wet topping is more pleasant alongside the bread than on it. If you want an open-faced wedge, spread a small amount of strained yogurt or soft cheese onto it at the table and add the warm vegetables on top.
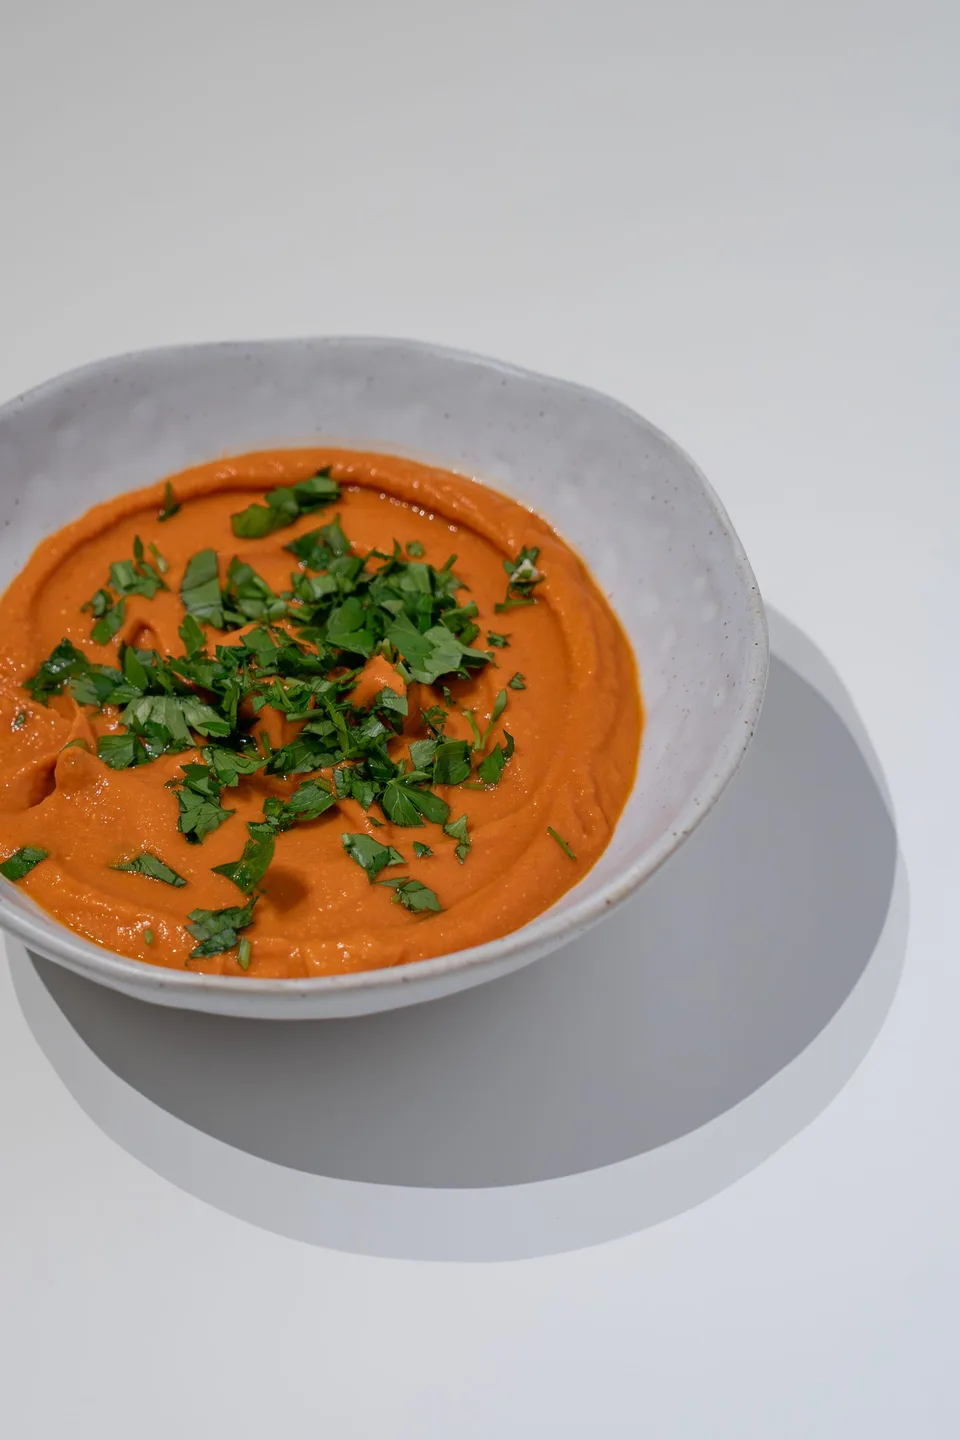
Chickpea flatbread also works next to a soup whose flavor carries well on its own. Tomato soup with a fresh herb, a clear vegetable broth with greens, or a spoonable lentil dish all make sense. Two rounds will stretch to more people as a side than as dinner. If a second batch is in order, measure and mix it before you begin cooking rather than interrupting the hot pan sequence. Set a rack next to the stove so finished pieces have somewhere to rest without steaming one another.
Learn from an uneven batch
The three common problems show up in different parts of the round. A batter that is too thick gives you a heavy center even when the edge looks crisp. A pan that starts cool gives you a pale underside and a greater chance of sticking. A pan with a poor coating of oil can turn out a bread that is browned in patches but hard to lift cleanly. These problems have different fixes. Thin the batter for the first, heat the skillet longer for the second, and tilt a fresh spoonful of oil over the cooking surface for the third. Avoid changing all three things together when a single cause is clear.
Chickpea flour can vary in texture and flavor across brands. If you buy it from a shop that turns over its stock quickly, the flour should smell mild and earthy when you open the bag. Store it tightly closed and away from heat. A flour with a stale or rancid odor should be discarded. A new bag sometimes needs an extra splash of water, especially when the grind is very fine. Write the adjustment down if you find a brand you like. The adjustment is more useful than timing the round to the exact second.
Serve the best pieces first
A flatbread sitting under a cover traps steam and gives up its crisp edge. Serve the first round immediately, or leave the rounds uncovered on a rack for the short time it takes to finish the second one. Cool any leftovers and refrigerate them promptly. Warm wedges in a dry skillet or a hot oven until heated through. Cut small pieces for soup or use a broad wedge as the base for cooked greens and an egg. This is one of those foods where the second meal benefits from a slightly different plan. Once the round has cooled, its firm texture makes it easy to handle and warm in pieces. Use that difference to your advantage and save the freshly baked wedges for the meal where their edges can be heard.